Japan Digital Device Travel Guide
Using mobile devices in Japan is a very enjoyable experience, but it does take a little bit of planning.

I recently returned from a week long trip to Japan and wanted to take the time to put together some of the things that worked, as well as other things that I learned.
Mobile Data
Coming from the US involves a little bit of planning ahead if you want LTE for your mobile phone or tablet. Unless you purchased your phone outright, as opposed to getting a subsidized phone from your carrier, your phone is likely SIM locked. This means that your phone can only work on that specific carrier. You'll need to contact your carrier and have them unlock it, otherwise you won't be able to use a SIM from another carrier in Japan.
In some cases, your carrier may have an additional mobile plan that will extend your coverage during your stay. AT&T and Verizon are extremely expensive and give very small data allowances. T-Mobile gives you free unlimited access and Sprint has $5 per month unlimited option. Things may change since the publication of this article, so make sure you investigate your options before making a decision.
If you choose to get a separate SIM card during your visit, planning ahead is still a preferred option. Bmobile offers the ability to prepurchase a SIM and have it delivered to your hotel when you arrive. I did this for one of the SIMs I got. Two weeks before my arrival, I purchased an unlimited data SIM. You get about 1GB of data during a rolling 3-day period before they start putting caps on the data speed. I gave this to my wife since I knew that her data needs would be mostly limited to texting and Facebook. This option cost about $24 (including tax) and is operational for 14 days.
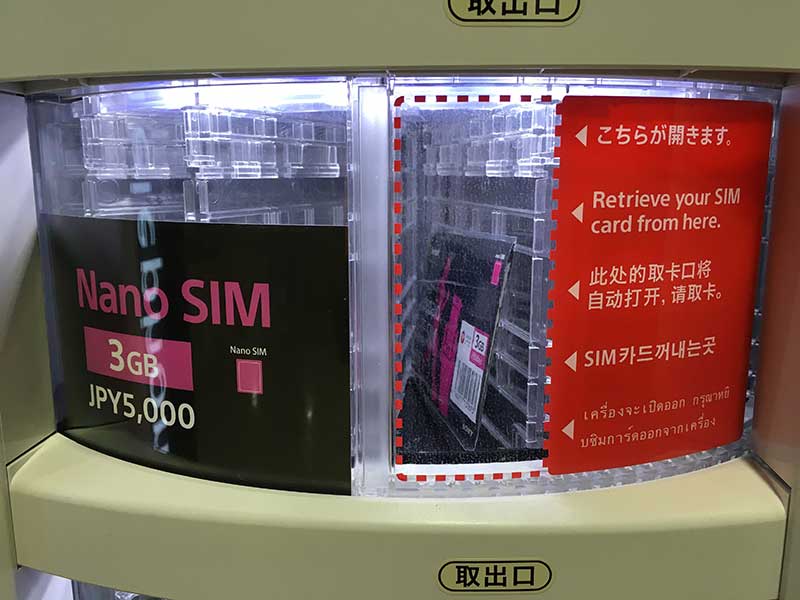
I purchased a $45 SIM from So-net in a vending machine in Kensai International Airport in Osaka. This one gave me 3GB that can be used over a 60 day period. The speeds were exceptionally fast and coverage only really blanked out when I was at the 4th station of Mount Fuji.
One thing to note is that none of these SIM options allow for voice access; they are data only. You can still use things like FaceTime audio and Skype, just keeping in mind that they'll be eating up your precious data quicker.
One last pointer: these SIM cards require you to be connected to wifi to activate and download an APN profile for your phone, so make sure you do this at the airport or hotel where free wifi is plentiful. Your SIM provider will give you instructions (in English) on how to activate and download their APN profile.
There are other options for mobile data, like getting portable WiFi devices. I didn't take much note of how much these cost and how much data you get because having to tote around another device didn't seem that appealing, nor did having to return it at the end of the trip. These can also be problematic from a data usage perspective because you have tighter control over data usage when your phone/tablet is consuming data over cellular vs. wifi.
If you turn on iCloud Photo Sharing I highly recommend turning off cellular data usage for the Photos app. The number of photos that you take will quickly eat up a substantial amount of mobile data without you even realizing it. Save the photo sharing sync for when you get back to your hotel wifi. I shared many photos via Twitter in real-time and it didn't seem to make a substantial dent in my data usage, certainly not like iCloud Photo Sharing.
Wifi
Wifi is very plentiful in Japan--if, again, you plan ahead: nearly all access points are password protected. There is an app, NAVITIME for Japan Travel, that will give you free access to thousands of access points all across Japan, but this has to be activated before you come to Japan.
If you decide not to go this route, you can purchase WiFi access from the main Japanese carrier, DoCoMo. You'll have an easier time setting this up if you do it before you leave for your trip. (Are you starting to see a pattern here?)
Power
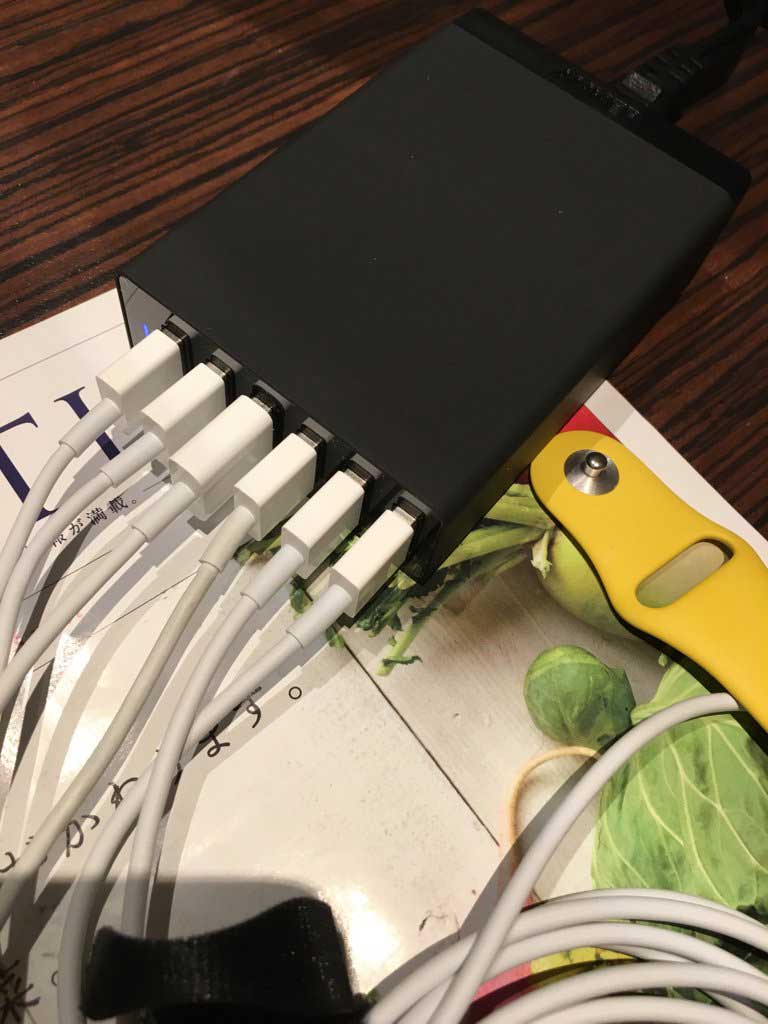
When it comes to power, coming from the States is pretty easy when visiting Japan. They use the same voltage we do, but their sockets only have two prongs, lacking the bottom center ground prong. I had planned on using a Power Squid to easily be able to plug in all my devices, but upon this discovery decided to purchase a separate 6 port USB charger.
This was great for charging two iPhones, two iPads, and two AppleWatches at night before going to bed.
The primary use of our phones during the trip was picture and video taking. Unfortunately, this sucks a ton of battery with even modest usage. I purchased a 26800mah RAVPower Battery Pack to be able to charge multiple devices while on the go. This particular unit comes with three ports. We only needed to use two, but there was a person on our bus tour who forgot to charge their phone the night before and their camera battery was malfunctioning, so in a pinch we were able to charge their phone, too.
I recommend charging at every opportune time. The first few days we'd only charge when we started getting low, but it seemed like we were always in a deficit situation going this route. It got to a point where I'd just leave the battery on our tour bus seat so that I'd remember to plug in between stops. This particular battery pack had so much capacity that we never got below a 50% charge. Our flight to Japan did not have any in-seat power so this pack was perfect for charging up on the long haul flight. Having this or something like it is an absolute must for all aspects of your travel.
Headphones
Traveling across the ocean involves really long flights. I highly recommend getting headphones with noise cancelling capabilities, especially if you're sitting behind the engines of the plane. You might be able to tolerate a three hour flight without any problems, but an eleven hour flight is something totally different. There are options all across the board with noise cancelling capabilities and dropping several hundred dollars on a pair of headphones is quite common.
I already had a set of headphones from Sony, but I decided to splurge and get some Bose QuietComfort headphones. The difference was substantial. Spending $300 on these might not seem worth it, but I cannot overestimate the value of a quiet flight that spans such a long period of time. My only gripe is that I wish that they were Bluetooth enabled so that I don't have to mess around with cords.
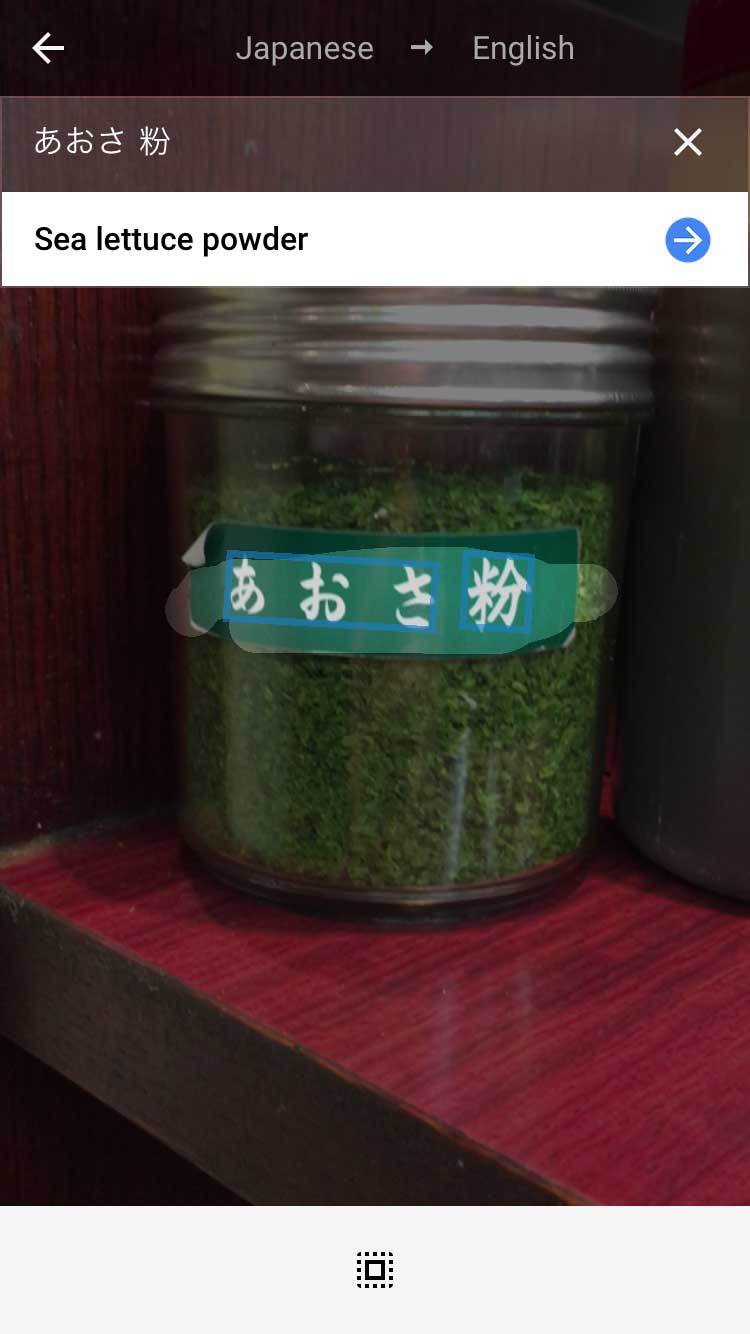
Google Translate
A surprising amount of signs and posters have at least a partial translation into English and when those fail, it's pretty easy to get the gist of things with any accompanying pictographs. For everything else, there's Google Translate. Being able to whip that out for things both big and small was a huge win, especially when it came to menus.
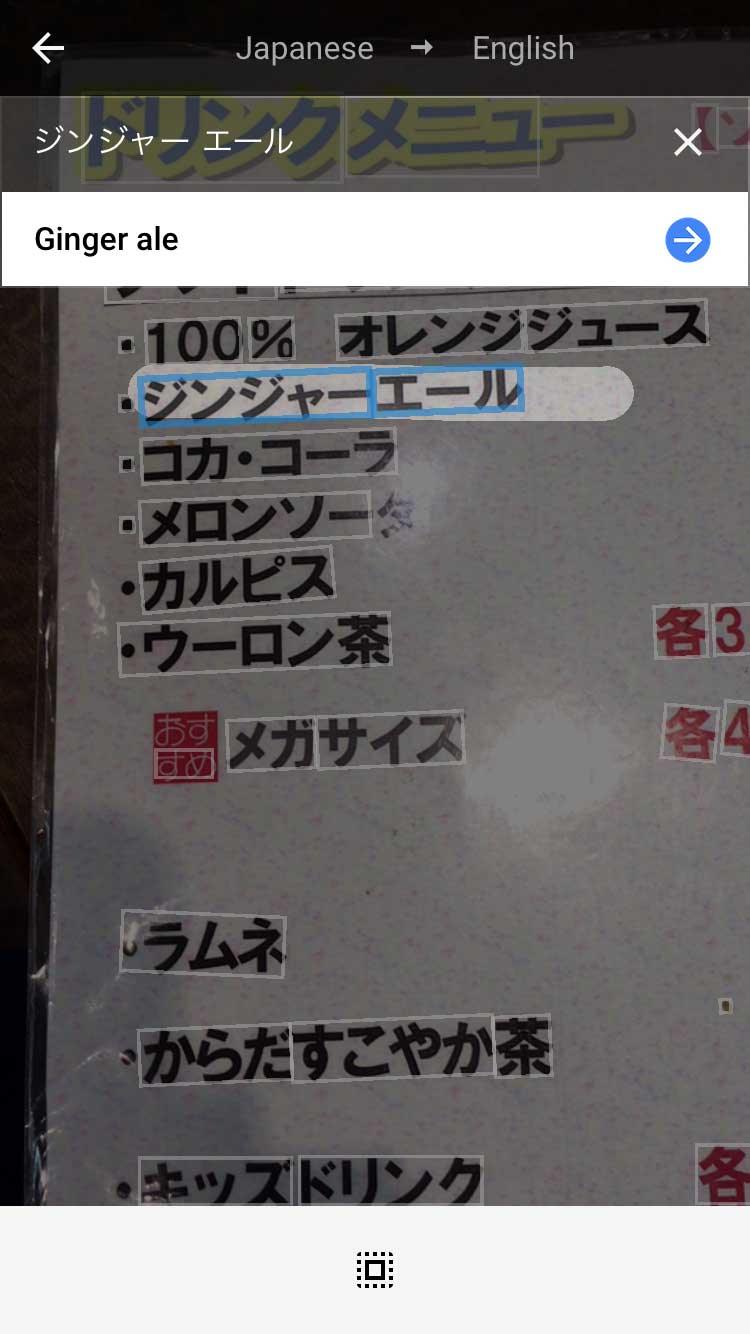
Its translations aren't always the best, but they are good enough that you can muddle your way through.